LOADING PAGE
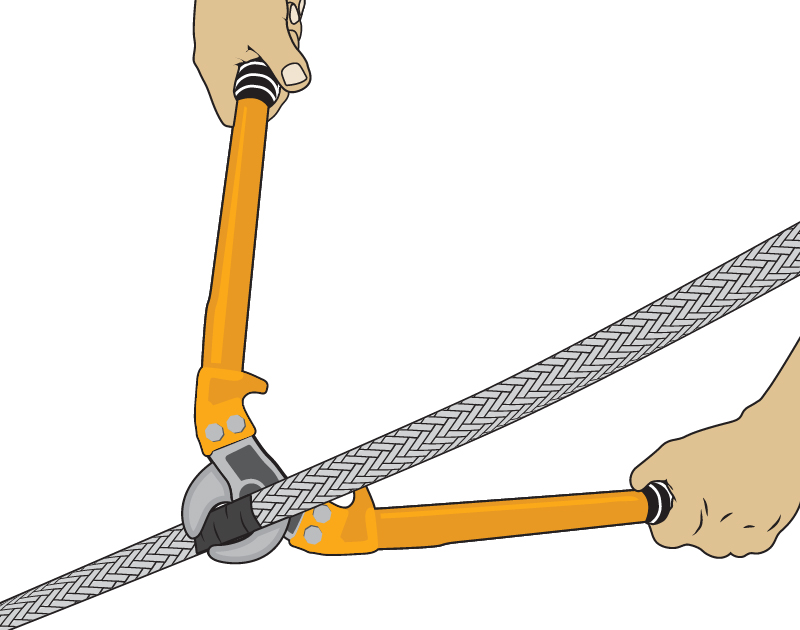
To minimize braid flare while cutting, wrap hose with tape. Cut the hose to length using large bolt cutters, a fine-toothed hacksaw, or a cutoff wheel.
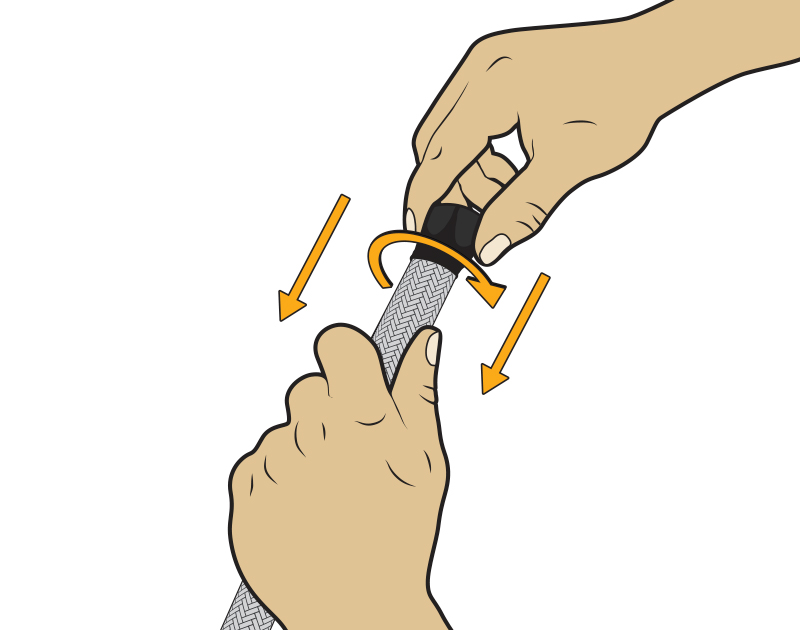
Remove the tape then insert the hose into the socket by pushing and twisting the socket counter-clockwise.
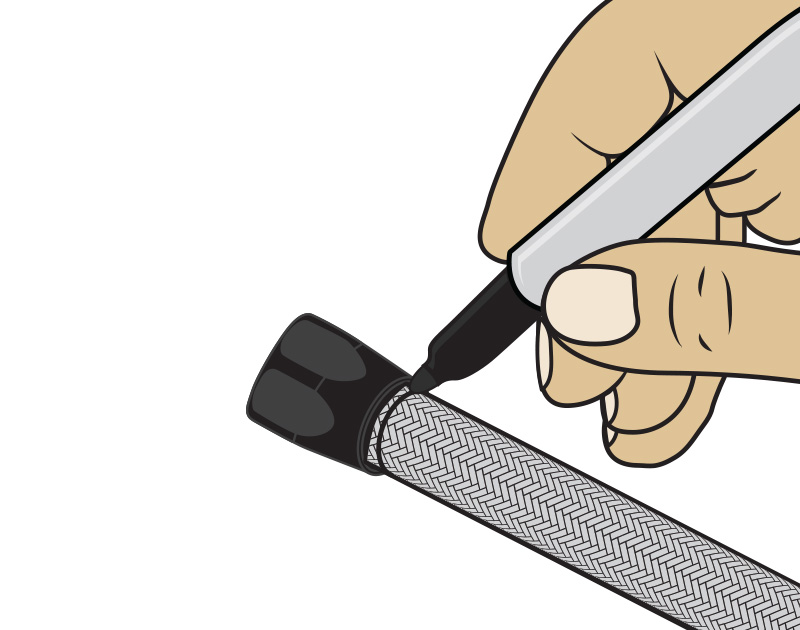
Mark the hose at the rear of the socket with tape or a marker. Use this mark to ensure the hose does not back out during assembly.
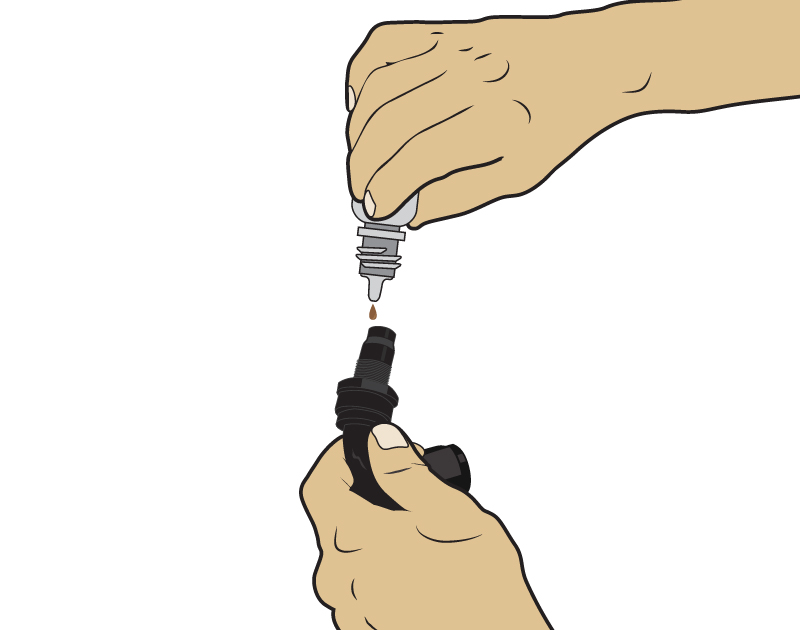
Lubricate the inside of the hose and the fitting nipple threads with engine oil.
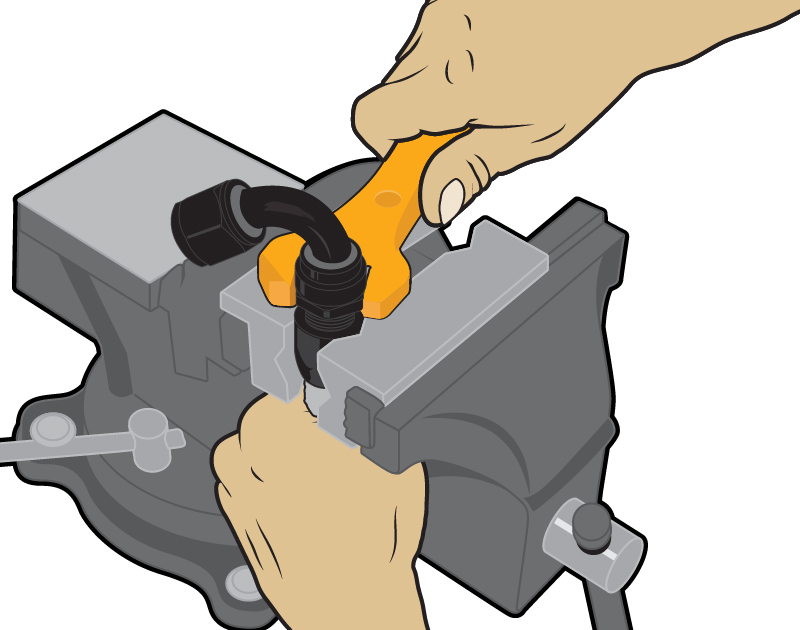
Insert the fitting nipple in the socket, engage the threads and screw in by hand. Tighten with a wrench while ensuring the hose does not back out of the socket. TIP: Use an aluminum AN wrench or wrap the fitting in tape to avoid damage.
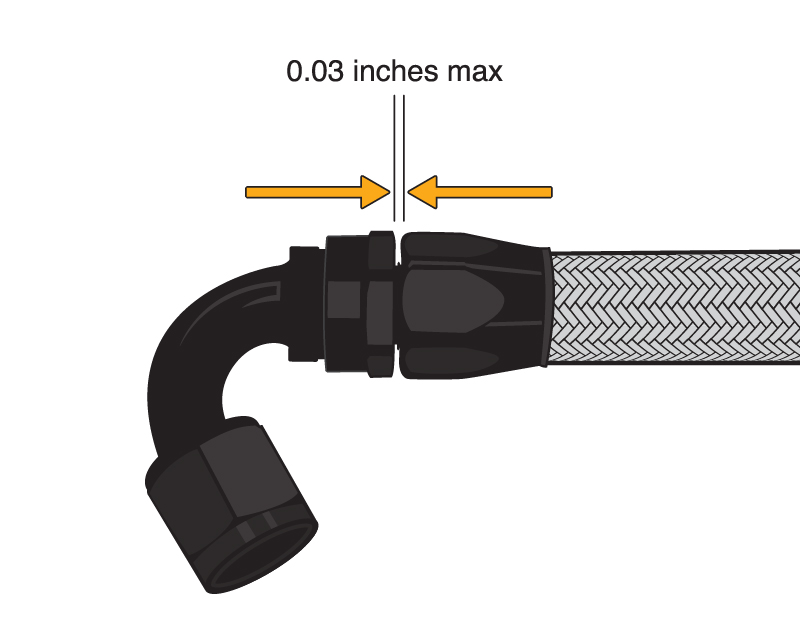
The maximum gap between the socket hex and the fitting nipple hex is 0.03 inches. Check the mark made in Step 3 to verify that the hose did not back out from the socket. Clean and inspect, then test for leaks at twice operating pressure before use.
Copyright © 2016 RaceFlux™, an Improved Racing Products LLC company. All rights reserved.